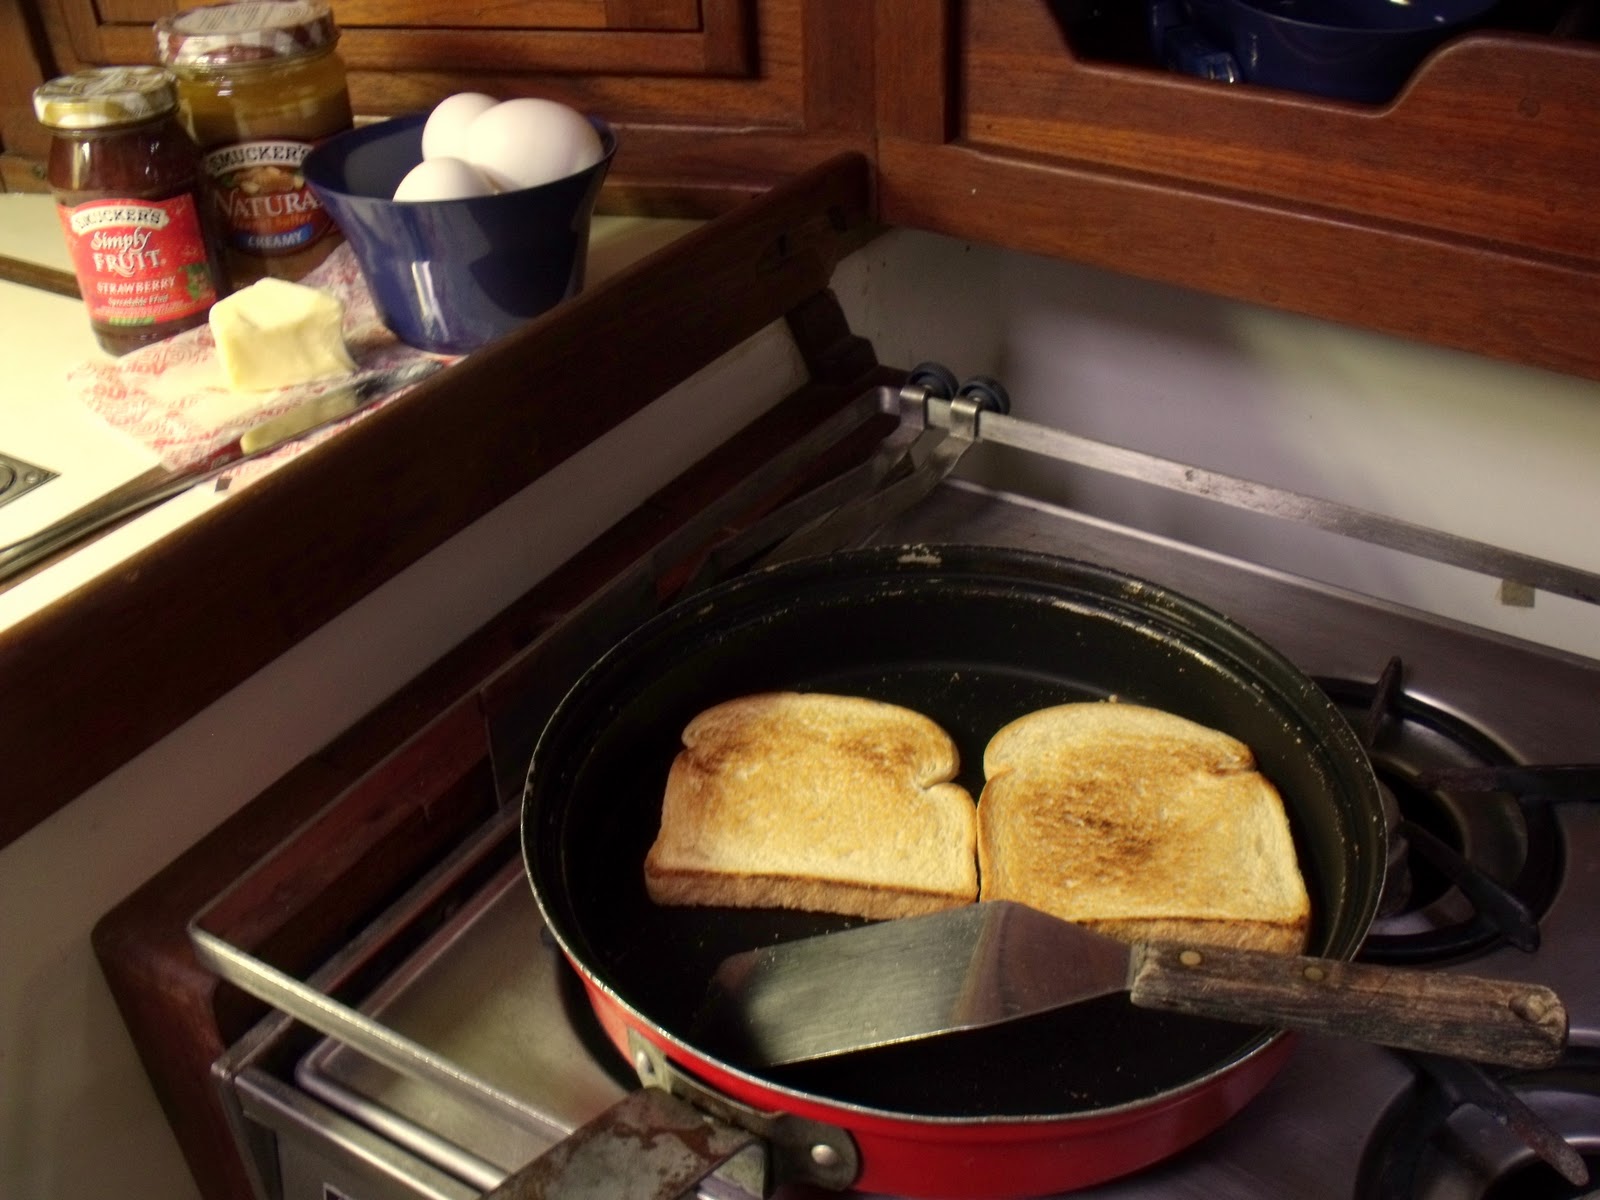
Now that we've been living on this boat for more than four years I thought I would do an evaluation of the top galley tools that I use constantly. Most of these are so useful that I wish I had bought multiples of them. If they are still available I have linked to them in the titles. If they are not still available, similar items are out there. So, without further adieu, here's the list that made the cut.

What it is: A very small silicone spatula that has very fine, sharp edges and a square shape to the bottom with a bamboo handle. It came as one o a set of three. The other two I rarely use, but this one doesn't seem to ever be offered by itself.
Why it works: This spatula is only 1-3/8" x 2" so it's small enough to fit inside most of the small jars that I use on the boat. The super fine, sharp edges completely clean whatever I'm using it on which means that I'm not washing the remnants of whatever jar, skillet, plate, bowl, or leftover container down the drain where they will clog the hose. It has lasted me for four years with multiple times each day use. You can see in the picture that the edges are now starting to chip a bit, but this is not reflection on the quality of the product, only on the extent of use.
 Good Quality Ice Pick
What it is: Mine is a 70-year old ice pick handed down to me from my dad. I have no idea where it came from, only that it has served well and is one of the most valuable tools in my galley
Why it works: The key to choosing a usable ice pick is to look for one with the pick securely attached to the handle. Most of the cheaper ones will separate rather quickly. You can sometimes find the ones that the pick and handle are all one piece of stainless. I can't recommend any specific one currently available as I have never had to buy one. We use ours for ice, naturally, but it also comes in handy for poking cakes that you're pouring sauces onto (think Tres Leches Cake), for tenderizing meat (wash carefully after), for aligning screw holes, and would come in handy as a defense mechanism in the event that your boat was boarded by undesirables.
 Chef'n Prep Bowls
What it is: A set of nesting, silicone prep bowls that measure 1/4 cup, 1/3 cup, 1/2 cup, and 1 cup.
Why it works: This set of silicone bowls is one of those I wish I had bought several of. We use them for everything. They measure and have pinchable areas on one side that form a sharp pouring spout. They also make great small bowls for serving dips and appetizers, or for olives or nuts, or just about anything else you can think of. They wash up beautifully, are easy to store, and don't rust. They no longer offer this color scheme, but the bowls seem to be the same.
 Comet Brand Drip Coffee Pot
What it is: My coffee pot is a very old 50s vintage aluminum pot that I inherited from my dad. It has a base with handle, a nesting filter basket, a water container that sits on top and the lid. It makes 4 cups of coffee or 2 large mugs.
Why it works: This pot makes perfect coffee. You boil the water in a tea kettle and pour it into the water container that you stack on top of the filter basket that you stack on top of the base. The water filters through the coffee in the filter basket and then you remove the water container and filter basket and replace the lid on the base. I know there is a tremendous popularity of the French press coffee makers, but I hate cleaning them on the boat because it's difficult to keep the grounds out of the drain and uses a lot of water to clean. This filter basket accepts a standard coffee filter which is easy to toss when you're done. You can still buy these on eBay and other vintage outlets.
 GSI Outdoors Silicone Collapsible Java Drip
What it is: A 1-4 cup coffee maker that easily collapses and stores on a boat.
Why it works: If we're only making a single cup or mug of coffee, this is our go-to coffee maker. It sits on top of the cup and accepts a cone coffee filter. You pour hot water directly on the grounds in the filter and allow it to soak down into the cup. It takes very little time to make, cleans up easily, and stows in a very small space.
 Any Brand of Parchment Paper
What it is: Parchment paper, if you've never used it before, is a super slippery non-stick paper that allows you to cook without burning or sticking.
Why it works: I simply can't cook on a boat without this stuff. I use it under all of my cookies which allows me to slide the paper off the cookie sheet (I only have one on the boat) and get the next batch going in the oven. I also use it under pizza and place it directly on my baking stones in my oven. I line loaf pans with it when I make banana bread, and roll dough out on it on my counter. It's absolutely essential in boat ovens which are known to have uneven heat. It helps to protect the bottoms of cookies and biscuits and any other baked good from sticking or burning. You can get the Reynolds brand in just about any grocery store, but Big Lots has a brown version that is a fraction of the price. Even most dollar stores carry it.
 Small Water-tight locking-lid containers
What they are: These two examples are very small, but I have many versions on the boat, many of them much larger. Any brand of waterproof, locking-lid container is fine but I use these two very small ones the most. The round one is about 3" and holds 1/2 cup and the rectangle one is about 3x5 and holds 1 cup.
 Why they work: Top-loading boat refrigerators are extremely difficult to organize. Things topple over, get squished, and the lids of regular containers get popped off, spilling the contents everywhere. The only thing worse than organizing a marine top-loading fridge is cleaning one. In addition, things get forgotten in the bowels of these refrigerators and these airtight containers keep the spoilage in and also any resulting odor. The round ones pictured here I found at Big Lots, and the rectangle ones I bought at Aldi on one of their weekly special. This small container was one of a set of three nesting ones. The larger ones I use to store pasta, flour, pancake mix, nuts, brown sugar, etc. The rubber gasket keeps everything out and I have never had bugs infiltrate any food item stored in these.
 Old School Potato Masher
What it is: A readily available and extremely cheap potato masher.
Why it works: Aside from the obvious potato mashing when you don't have an electric mixer on board or don't want to use the inverter, this tool is great for mashing up the butter and sugars in cookie dough. There are two kinds, those with the s-turn bars and those like this one with the plate design. The ones with the s-turn bars are also good for retrieving lost halyards.
 Digital Laser Infrared Thermometer
What it is: A fairly inexpensive, digital readout, infrared thermometer designed to test the temperature of engines and other miscellaneous heat-producing machinery.
Why it works: This thermometer gets used on our boat a ton. It gets used to read the temperature of the engine, but it gets used much more as a check-the-liquid-ingredients-for-bread-making tool. It's precise, and I have never had a yeast dough fail due to excessively hot or cold temps since I started using it. Also works great to check the temperature of the oven.
 Large Pressure Cooker
(But not why you think)
What it is: A six quart Presto Pressure cooker, circa 1975
Why it works: Yes, I do use my pressure cooker to actually cook the things in it you're supposed to - meat, stews, etc. But the primary use of our pressure cooker is two-fold. First, we make really terrific popcorn in it. It holds a big batch, doesn't burn it because the bottom is so heavy, and if you leave the rocker off the top it vents the steam nicely without letting the kernels fly all over the galley. Second, I use it to raise bread. If you put the lid on but not the rocker and set it in the dodger in the sun, it raises the bread dough beautifully and very quickly. Just oil the cooker a bit before putting your dough in there. One of the chief reasons for yeast dough failure is the rising dough sitting in a draft and, seriously, where is there not a draft on a sailboat???? I even use this method when we're up north in colder weather and the sun sufficiently warms the pot to raise the bread even if the air temperature is cool. I haven't tried this method to make yogurt yet, but I believe it's going to be about the correct temperature for that as well.
So that's my list, and while it's not completely inclusive, it does get my absolute tools that I can't do without. How does your list look?

What it is: A very small silicone spatula that has very fine, sharp edges and a square shape to the bottom with a bamboo handle. It came as one o a set of three. The other two I rarely use, but this one doesn't seem to ever be offered by itself.
Why it works: This spatula is only 1-3/8" x 2" so it's small enough to fit inside most of the small jars that I use on the boat. The super fine, sharp edges completely clean whatever I'm using it on which means that I'm not washing the remnants of whatever jar, skillet, plate, bowl, or leftover container down the drain where they will clog the hose. It has lasted me for four years with multiple times each day use. You can see in the picture that the edges are now starting to chip a bit, but this is not reflection on the quality of the product, only on the extent of use.

What it is: Mine is a 70-year old ice pick handed down to me from my dad. I have no idea where it came from, only that it has served well and is one of the most valuable tools in my galley
Why it works: The key to choosing a usable ice pick is to look for one with the pick securely attached to the handle. Most of the cheaper ones will separate rather quickly. You can sometimes find the ones that the pick and handle are all one piece of stainless. I can't recommend any specific one currently available as I have never had to buy one. We use ours for ice, naturally, but it also comes in handy for poking cakes that you're pouring sauces onto (think Tres Leches Cake), for tenderizing meat (wash carefully after), for aligning screw holes, and would come in handy as a defense mechanism in the event that your boat was boarded by undesirables.

What it is: A set of nesting, silicone prep bowls that measure 1/4 cup, 1/3 cup, 1/2 cup, and 1 cup.
Why it works: This set of silicone bowls is one of those I wish I had bought several of. We use them for everything. They measure and have pinchable areas on one side that form a sharp pouring spout. They also make great small bowls for serving dips and appetizers, or for olives or nuts, or just about anything else you can think of. They wash up beautifully, are easy to store, and don't rust. They no longer offer this color scheme, but the bowls seem to be the same.

What it is: My coffee pot is a very old 50s vintage aluminum pot that I inherited from my dad. It has a base with handle, a nesting filter basket, a water container that sits on top and the lid. It makes 4 cups of coffee or 2 large mugs.
Why it works: This pot makes perfect coffee. You boil the water in a tea kettle and pour it into the water container that you stack on top of the filter basket that you stack on top of the base. The water filters through the coffee in the filter basket and then you remove the water container and filter basket and replace the lid on the base. I know there is a tremendous popularity of the French press coffee makers, but I hate cleaning them on the boat because it's difficult to keep the grounds out of the drain and uses a lot of water to clean. This filter basket accepts a standard coffee filter which is easy to toss when you're done. You can still buy these on eBay and other vintage outlets.

What it is: A 1-4 cup coffee maker that easily collapses and stores on a boat.
Why it works: If we're only making a single cup or mug of coffee, this is our go-to coffee maker. It sits on top of the cup and accepts a cone coffee filter. You pour hot water directly on the grounds in the filter and allow it to soak down into the cup. It takes very little time to make, cleans up easily, and stows in a very small space.

What it is: Parchment paper, if you've never used it before, is a super slippery non-stick paper that allows you to cook without burning or sticking.
Why it works: I simply can't cook on a boat without this stuff. I use it under all of my cookies which allows me to slide the paper off the cookie sheet (I only have one on the boat) and get the next batch going in the oven. I also use it under pizza and place it directly on my baking stones in my oven. I line loaf pans with it when I make banana bread, and roll dough out on it on my counter. It's absolutely essential in boat ovens which are known to have uneven heat. It helps to protect the bottoms of cookies and biscuits and any other baked good from sticking or burning. You can get the Reynolds brand in just about any grocery store, but Big Lots has a brown version that is a fraction of the price. Even most dollar stores carry it.

What they are: These two examples are very small, but I have many versions on the boat, many of them much larger. Any brand of waterproof, locking-lid container is fine but I use these two very small ones the most. The round one is about 3" and holds 1/2 cup and the rectangle one is about 3x5 and holds 1 cup.


What it is: A readily available and extremely cheap potato masher.
Why it works: Aside from the obvious potato mashing when you don't have an electric mixer on board or don't want to use the inverter, this tool is great for mashing up the butter and sugars in cookie dough. There are two kinds, those with the s-turn bars and those like this one with the plate design. The ones with the s-turn bars are also good for retrieving lost halyards.
 Digital Laser Infrared Thermometer
What it is: A fairly inexpensive, digital readout, infrared thermometer designed to test the temperature of engines and other miscellaneous heat-producing machinery.
Why it works: This thermometer gets used on our boat a ton. It gets used to read the temperature of the engine, but it gets used much more as a check-the-liquid-ingredients-for-bread-making tool. It's precise, and I have never had a yeast dough fail due to excessively hot or cold temps since I started using it. Also works great to check the temperature of the oven.
 Large Pressure Cooker
 (But not why you think)
What it is: A six quart Presto Pressure cooker, circa 1975
Why it works: Yes, I do use my pressure cooker to actually cook the things in it you're supposed to - meat, stews, etc. But the primary use of our pressure cooker is two-fold. First, we make really terrific popcorn in it. It holds a big batch, doesn't burn it because the bottom is so heavy, and if you leave the rocker off the top it vents the steam nicely without letting the kernels fly all over the galley. Second, I use it to raise bread. If you put the lid on but not the rocker and set it in the dodger in the sun, it raises the bread dough beautifully and very quickly. Just oil the cooker a bit before putting your dough in there. One of the chief reasons for yeast dough failure is the rising dough sitting in a draft and, seriously, where is there not a draft on a sailboat???? I even use this method when we're up north in colder weather and the sun sufficiently warms the pot to raise the bread even if the air temperature is cool. I haven't tried this method to make yogurt yet, but I believe it's going to be about the correct temperature for that as well.
So that's my list, and while it's not completely inclusive, it does get my absolute tools that I can't do without. How does your list look?