It's always a good thing to have a can of tuna in the pantry on a boat, just in case you don't have any meat hanging out in the fridge waiting to be used. I'm not a huge fan of tuna, probably a result of excessive amounts of tuna noodle casserole served at the dinner table when I was growing up. That being said, this recipe is one of the few that I really like and graced our family table when my kids were growing up. The sauce is one that will merit a separate blog entry when I get some time but for now it will do here.
 Braided Tuna Loaf
1 Recipe of Cheddar Drop Biscuits on the sidebar, using only 2/3 cup milk and no cheese.
1 can of chunk white tuna
2 Tbl minced onion
1 beaten egg, divided
salt and pepper to taste
1/2 c shredded cheddar

Begin by making the recipe of biscuits on the sidebar, using only 2/3 cup of milk and no cheese in the dough. Roll the dough out on a floured surface until it's about 10" x 14". Mix tuna, onion, 1/2 of beaten egg, salt and pepper and cheese. Spread evenly down the middle third of dough. Using a sharp knife, make cuts through the dough from the outside edge just to the filling at an angle, making 6 or 8 slanted strips.
 Fold the strips over alternately to make a braided top. Mix remaining egg with a little water and brush over the top. Bake at 400° for 20-35 minutes or until golden brown. While it is baking, make the cheese sauce.
No Measure Cheese Sauce
This cheese sauce is a variation of a standard white sauce, which is also wonderful to use for so many other things like potato soup, cream of mushroom soup, sausage gravy, or macaroni and cheese. It's one to master for sure!

Melt a hunk of butter in a saucepan on medium. The size of the butter chunk will determine the quantity of sauce you end up with. 4 Tablespoons will yield about 1-1/2 cups of sauce.
 Add enough flour to make a very thick paste, and stir until the butter separates from the pan and kind of chunks up.
 Add milk a little at a time, stirring hard with a wire whisk in between. The first addition should leave it looking a bit like mashed potatoes.

The second addition should leave it looking a bit like frosting.

The third addition it will be thick white sauce. If you're making it for a recipe that needs thinner sauce then just add a little more milk and whisk.

Add at least a cup of grated cheese. Use your imagination, and all the leftover chunks of cheese in your fridge. The more the merrier. You can use swiss, cheddar, american, cream, havarti, parmesan, just mix them all together in there. Add salt and pepper to taste.

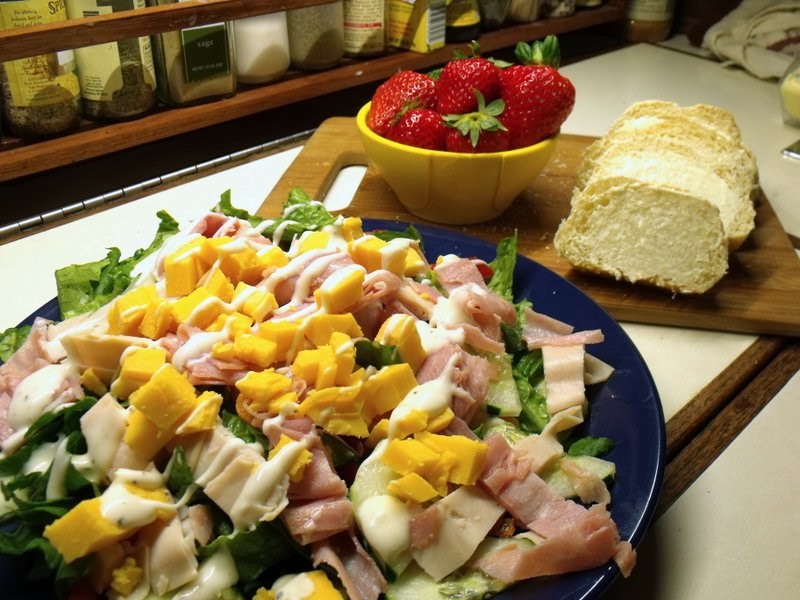
Serve the braid in thick slices with the cheese sauce over top. A side of brocolli is great with this.
 Braided Tuna Loaf
1 Recipe of Cheddar Drop Biscuits on the sidebar, using only 2/3 cup milk and no cheese.
1 can of chunk white tuna
2 Tbl minced onion
1 beaten egg, divided
salt and pepper to taste
1/2 c shredded cheddar

Begin by making the recipe of biscuits on the sidebar, using only 2/3 cup of milk and no cheese in the dough. Roll the dough out on a floured surface until it's about 10" x 14". Mix tuna, onion, 1/2 of beaten egg, salt and pepper and cheese. Spread evenly down the middle third of dough. Using a sharp knife, make cuts through the dough from the outside edge just to the filling at an angle, making 6 or 8 slanted strips.

No Measure Cheese Sauce
This cheese sauce is a variation of a standard white sauce, which is also wonderful to use for so many other things like potato soup, cream of mushroom soup, sausage gravy, or macaroni and cheese. It's one to master for sure!
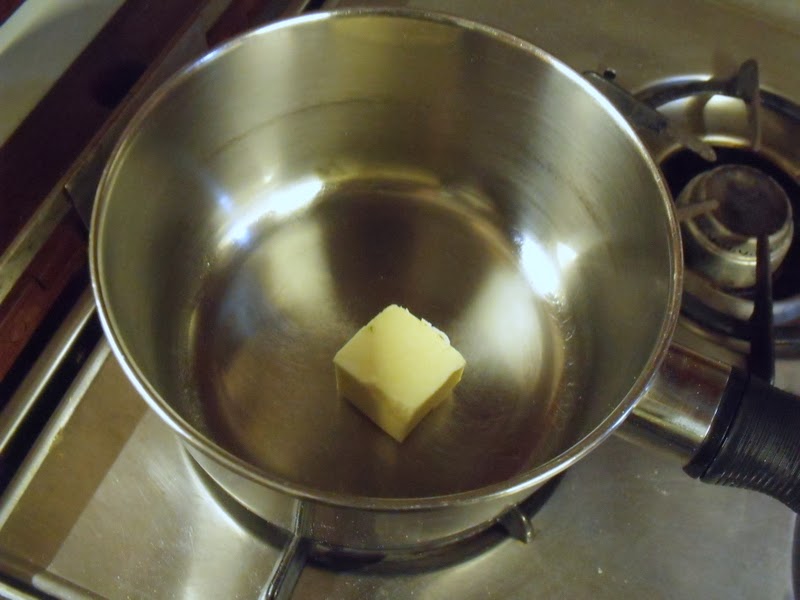
Melt a hunk of butter in a saucepan on medium. The size of the butter chunk will determine the quantity of sauce you end up with. 4 Tablespoons will yield about 1-1/2 cups of sauce.


The second addition should leave it looking a bit like frosting.

The third addition it will be thick white sauce. If you're making it for a recipe that needs thinner sauce then just add a little more milk and whisk.

Add at least a cup of grated cheese. Use your imagination, and all the leftover chunks of cheese in your fridge. The more the merrier. You can use swiss, cheddar, american, cream, havarti, parmesan, just mix them all together in there. Add salt and pepper to taste.

Serve the braid in thick slices with the cheese sauce over top. A side of brocolli is great with this.